


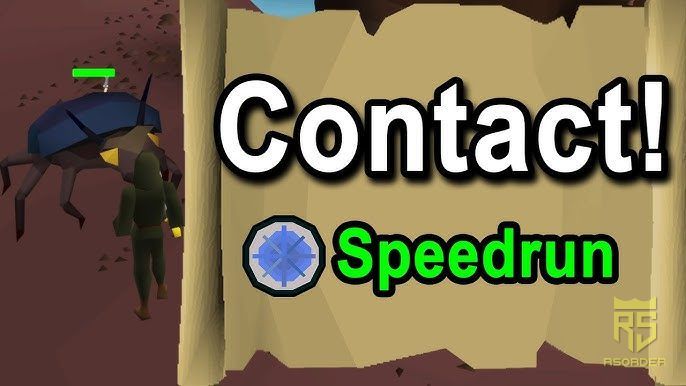
OSRS Quest Guide: Speedrunning Contact!
Apr-28-2026 PSTIn Old School RuneScape, efficiency is everything—especially when tackling mid-level quests like Contact!. While the quest itself is relatively short, poor preparation and missteps in the Sophanem Dungeon can quickly turn it into a frustrating experience. This guide distills a speedrun-oriented approach, focusing on optimal setup, fast navigation, and a clean boss kill.
Optimal Gear and Inventory Setup
Before starting Contact!, your loadout should prioritize magic accuracy, mobility, and survivability.
Magic Setup (Highly Recommended)
Using fire spells is critical due to a hidden mechanic in the boss fight:
· Fire Surge, Fire Wave, or Fire Blast all receive a 50% boost to accuracy and damage against the final boss.
· Expect to use 20–30 casts, so calculate your rune requirements accordingly.
Essential Items
· Light Source: A candle works, but Kandarin Headgear is superior since it cannot be extinguished.
· Tinderbox: Mandatory for relighting your light source.
· Prayer Potions: For sustained protection prayers.
· Stamina/Energy Potions: Keeps your run energy high during repeated dungeon runs.
· Antipoison: A Super Antipoison is ideal.
· Teleport to Al Kharid: Use a Amulet of Glory or Ring of Dueling.
· Desert Access Teleports:
· Best: Pharaoh's Sceptre
· Budget: Dramen Staff + Fairy Ring code DLQ
· Emergency Teleports: Always keep at least one one-click teleport.
· Food: Fill remaining inventory with combo food.
Quick Prayers Setup
· Protect from Missiles
· Magic-boosting prayer (e.g., Mystic Might)
Also:
· Turn Auto Retaliate OFF
· Pre-select your combat spell
Navigating the Sophanem Dungeon Maze
The dungeon is the most dangerous part of the quest—not because of combat, but due to traps and navigation errors.
Key Mechanics
· Follow the exact path.
· Deviating can:
· Deal ~20 damage
· Drop you into a lower level filled with aggressive monsters
· Extinguish your light source
If your light goes out:
· Immediately use your tinderbox to relight it.
If you fall:
· Use your emergency teleport and restart—this is faster than recovering.
Trap Types
· Crushers: Zigzag through safely
· Wall Traps: Right-click to disable
· Scarab/Sand Traps: Avoid by strictly following the path
With precise movement, you can clear the maze in about one minute. You will need to complete it twice during the quest.
Quest Flow Summary
1. Enter the dungeon and complete the maze.
2. Exit and teleport to Al Kharid to speak with Osman.
3. Return to Sophanem and complete the maze again.
4. Proceed to the boss encounter.
Boss Fight Strategy
The final boss encounter is surprisingly straightforward with the correct setup.
Mechanics
· Activate Protect from Missiles → This reduces incoming damage to zero.
· Run east to trigger the fight near a white corpse.
· The boss (a giant scarab) will spawn.
Combat Tips
· Use your fire spells for boosted damage.
· A Scarab Mage may spawn:
· It can extinguish your light source—relight immediately if needed.
Once defeated:
· Loot the Keris
· Speak with Osman to proceed
Bonus: Desert Hard Diary Task
While you're in the area, you can efficiently complete a task for the Desert Achievement Diary:
1. Re-enter the dungeon
2. Equip Keris and activate Protect from Missiles
3. Head east, hugging the north wall
4. Locate and kill a Locust Rider
Teleport out afterward.
Rewards
Completing Contact! grants:
· 7,000 XP Lamp (usable on two combat skills)
· Progress toward desert questlines and diary completion
Final Thoughts
Despite its intimidating dungeon, Contact! is a fast and rewarding quest when approached with precision. The maze becomes trivial with proper routing, and the boss is effectively neutralized using protection prayers and fire spells.
If your goal is speed, consistency, and minimal risk, this method delivers exactly that.
RSorder Team